Even een schaamteloze topic kick met een crosspost van een compleet ander forum en ik denk een nuttige bijdrage.Pi-DABReceiver: Voor de nerds, maak je eigen DAB+ ontvanger met een Raspberry Pi en een USB DVB-T stick
Voor de lokale omroep (ik doe daar wat technische zaken onderhouden en controleren) zocht ik in de kerstvakantie een manier om geautomatiseerd ons DAB+ kanaal te monitoren, vooral op stilte. Een losse DAB+ tuner neerzetten en aan de line-output een stilte detectie hangen is dan een optie. Maar een dure optie. Maar, daarnaast zocht ik voor thuis een manier om naar ons DAB+ kanaal te kunnen luisteren, terwijl ik in het grootste gedeelte van mijn huis geen DAB+ ontvangst heb, voor dat allotment. Aangezien automatisering mijn beroep is... Doen we dat dus niet met een losse DAB+ tuner.
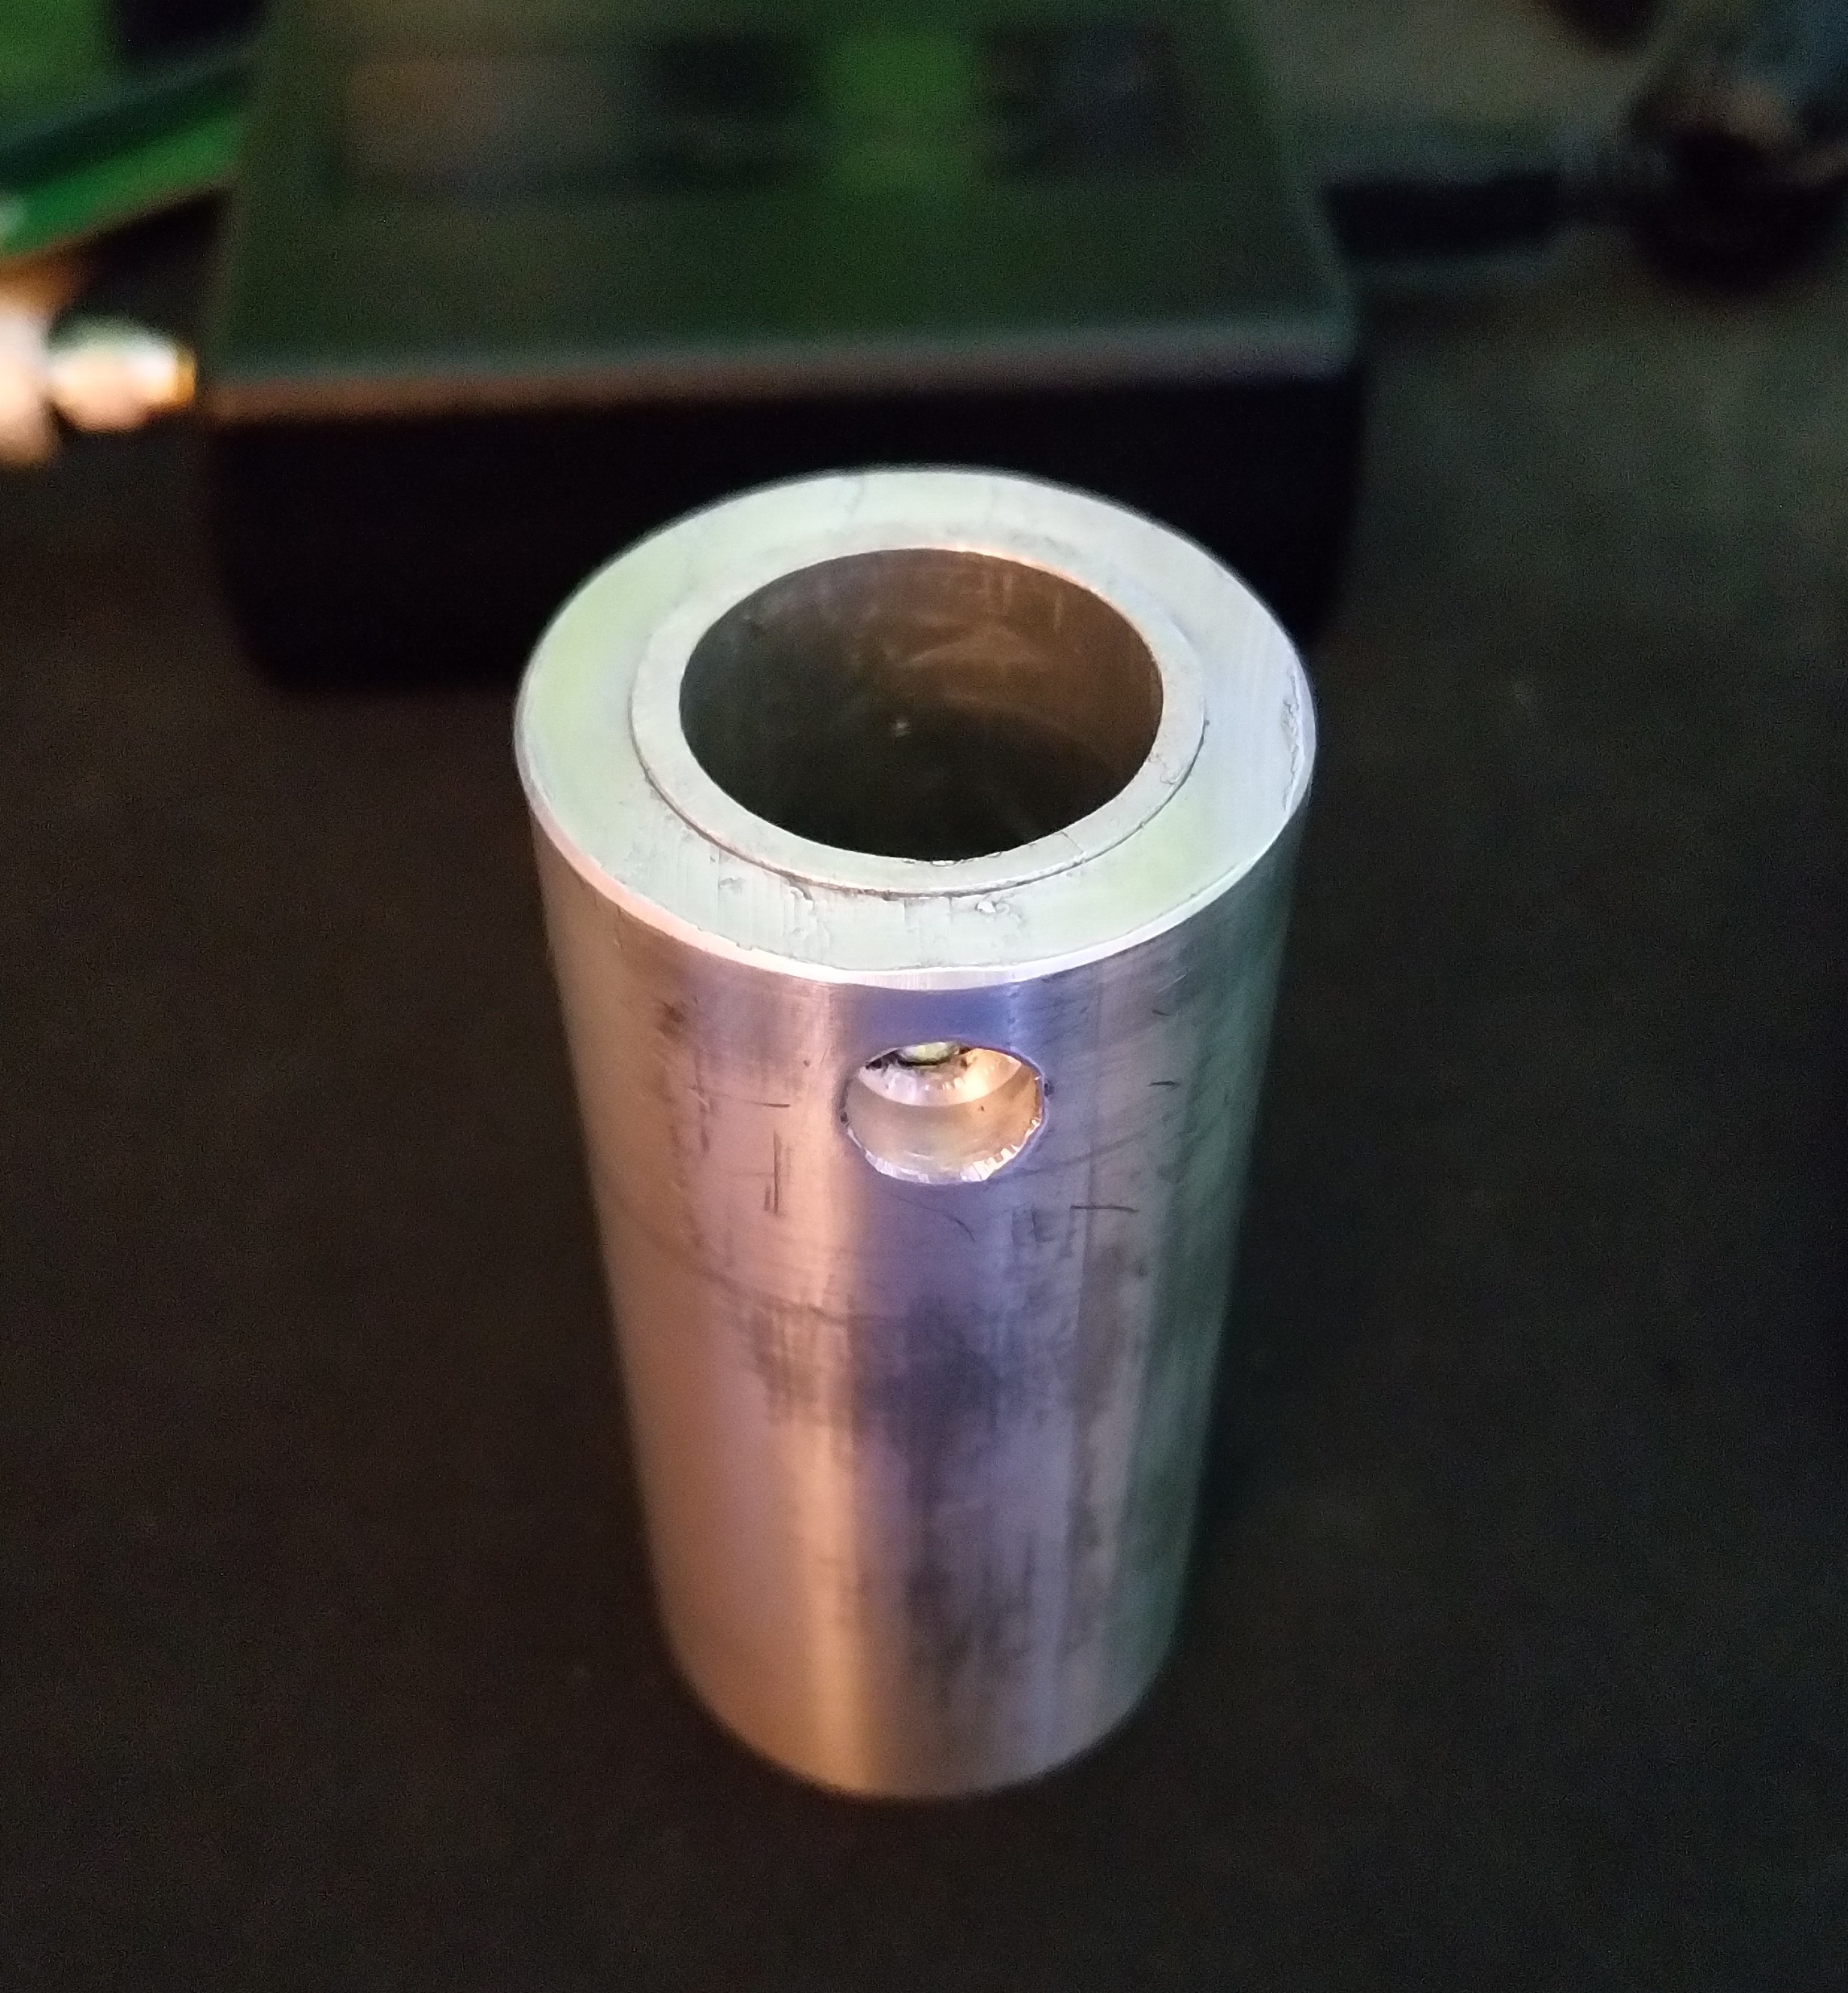
Ik heb deze 2 vliegen in één klap geslagen en heb een image gemaakt voor de Raspberry Pi waarmee je met een goedkope RTL-SDR stick DAB+ kan ontvangen en via een webinterface kan monitoren / luisteren.
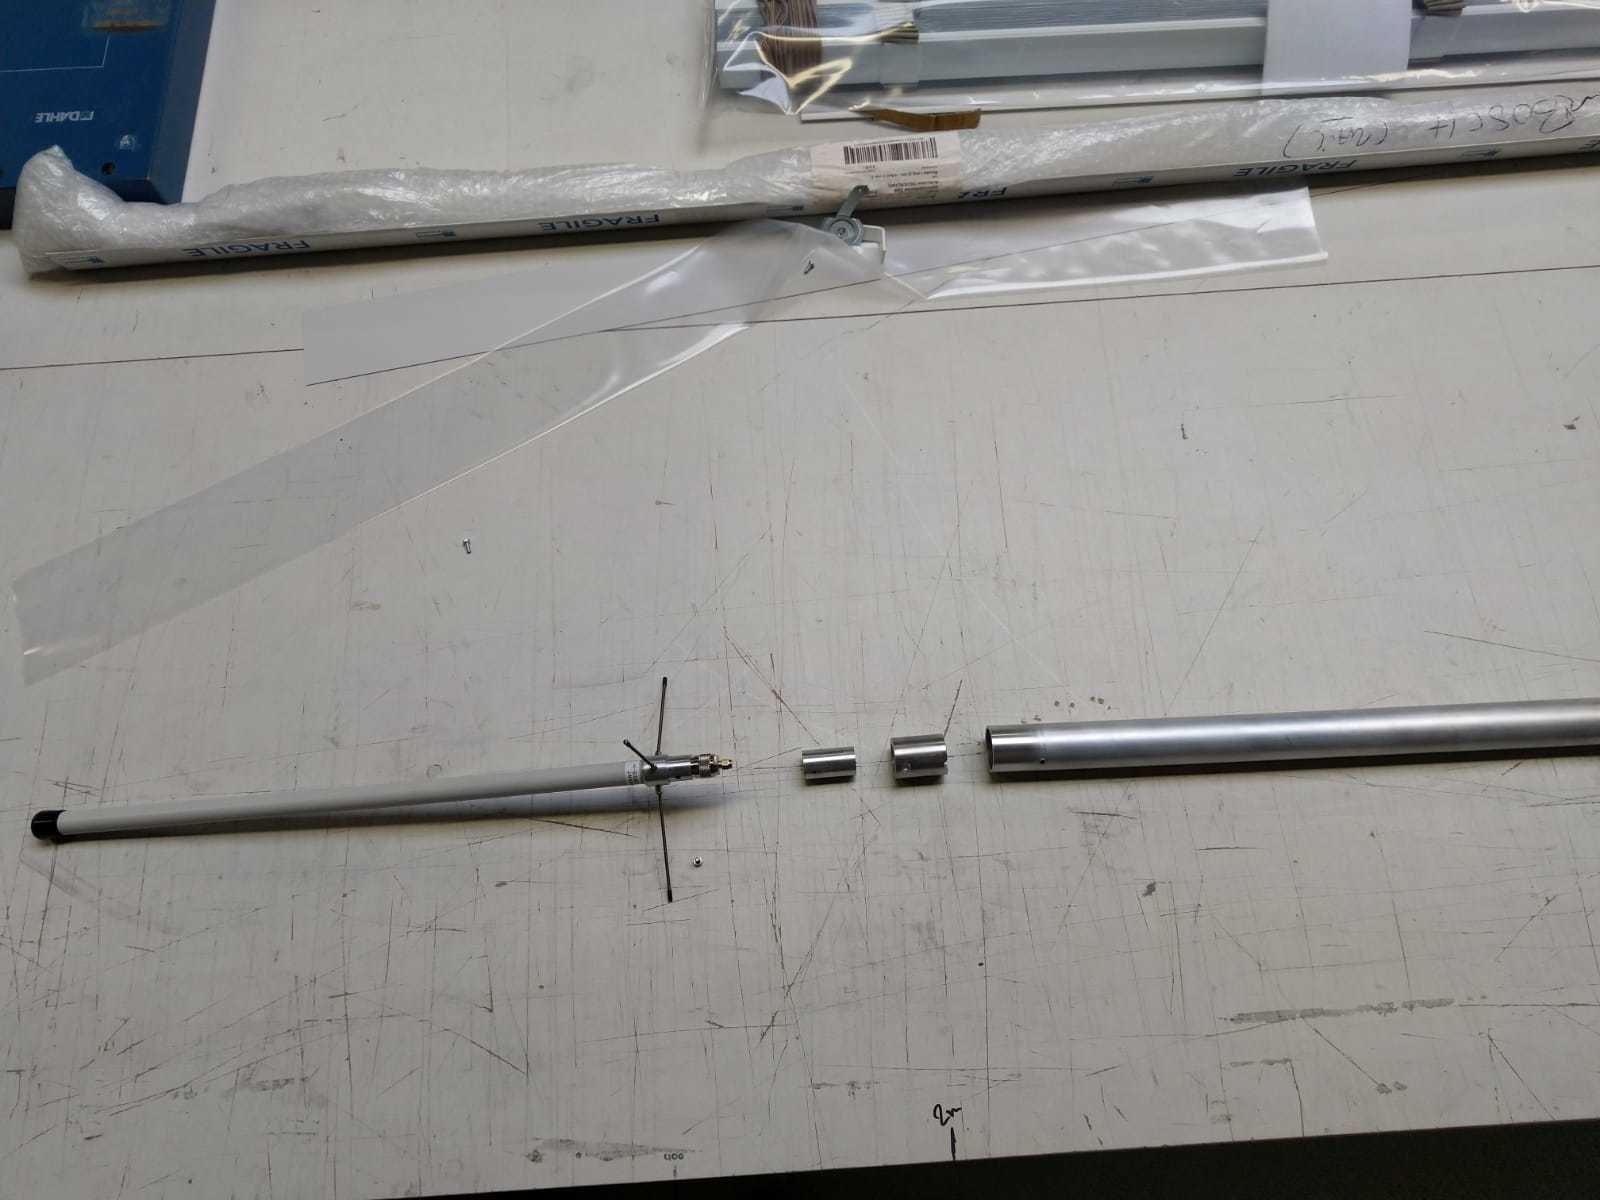
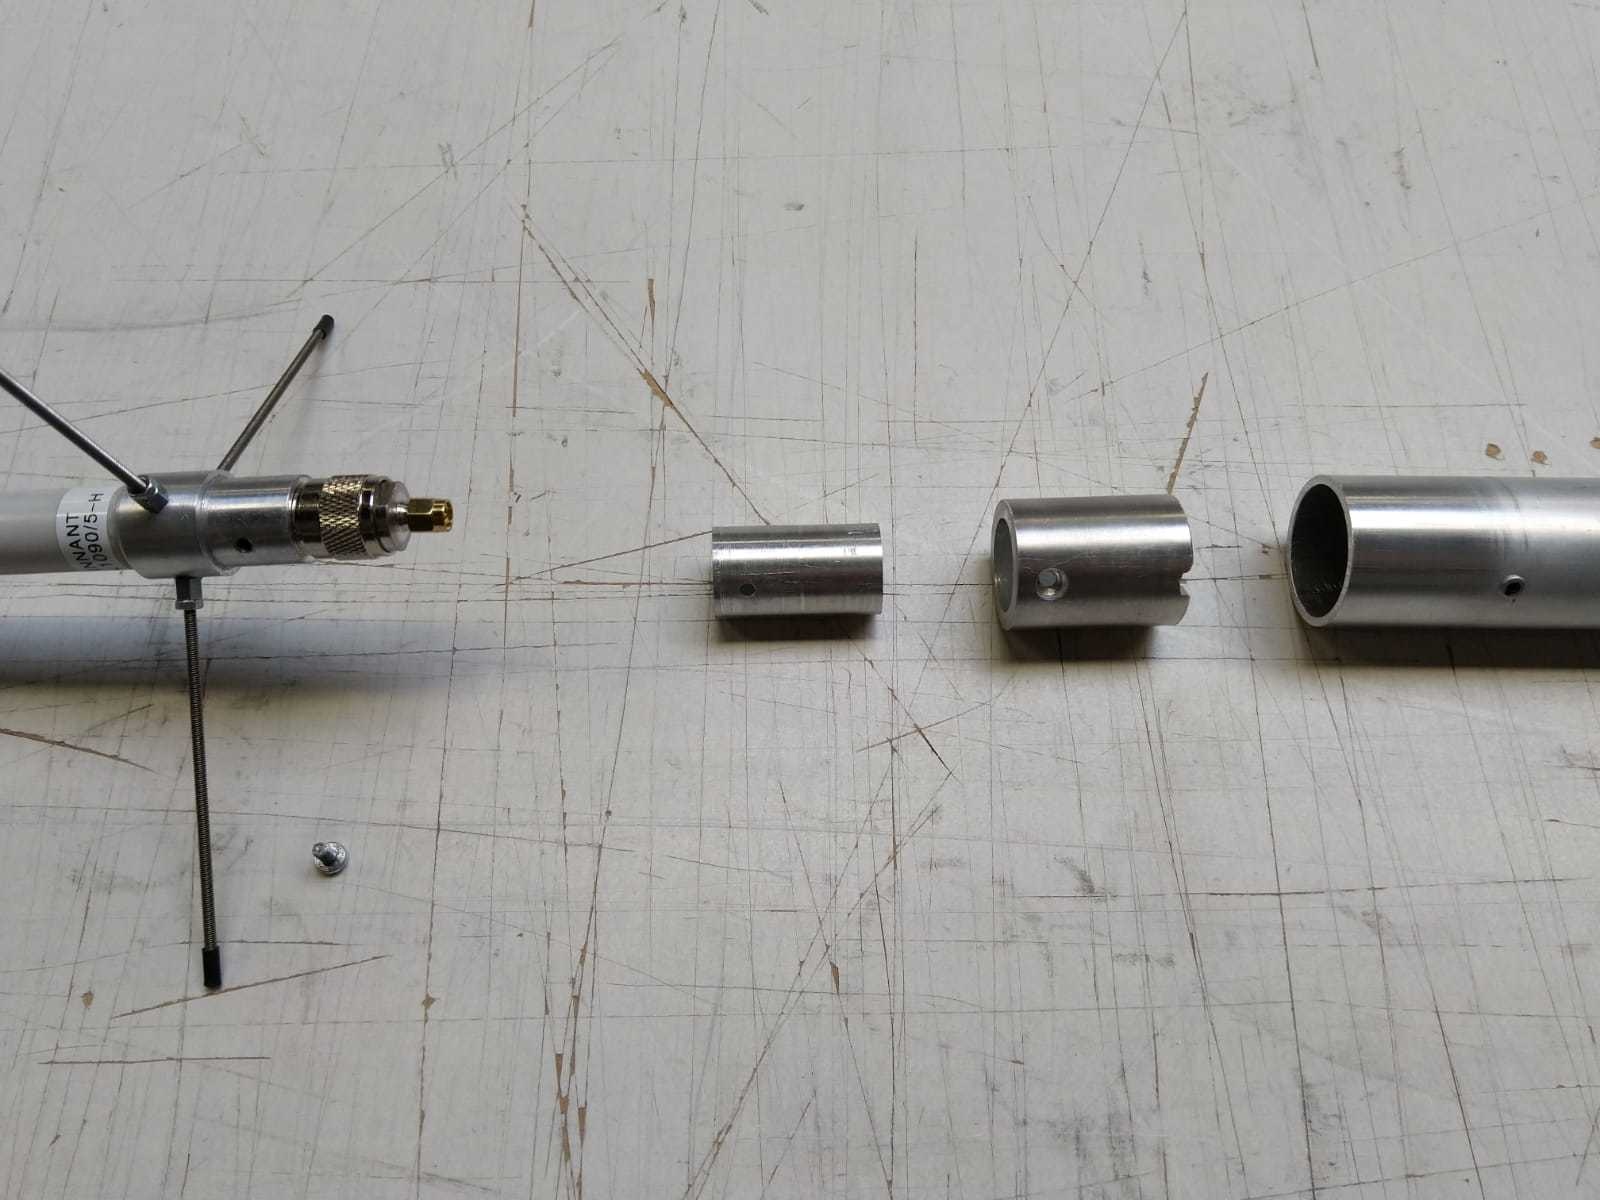
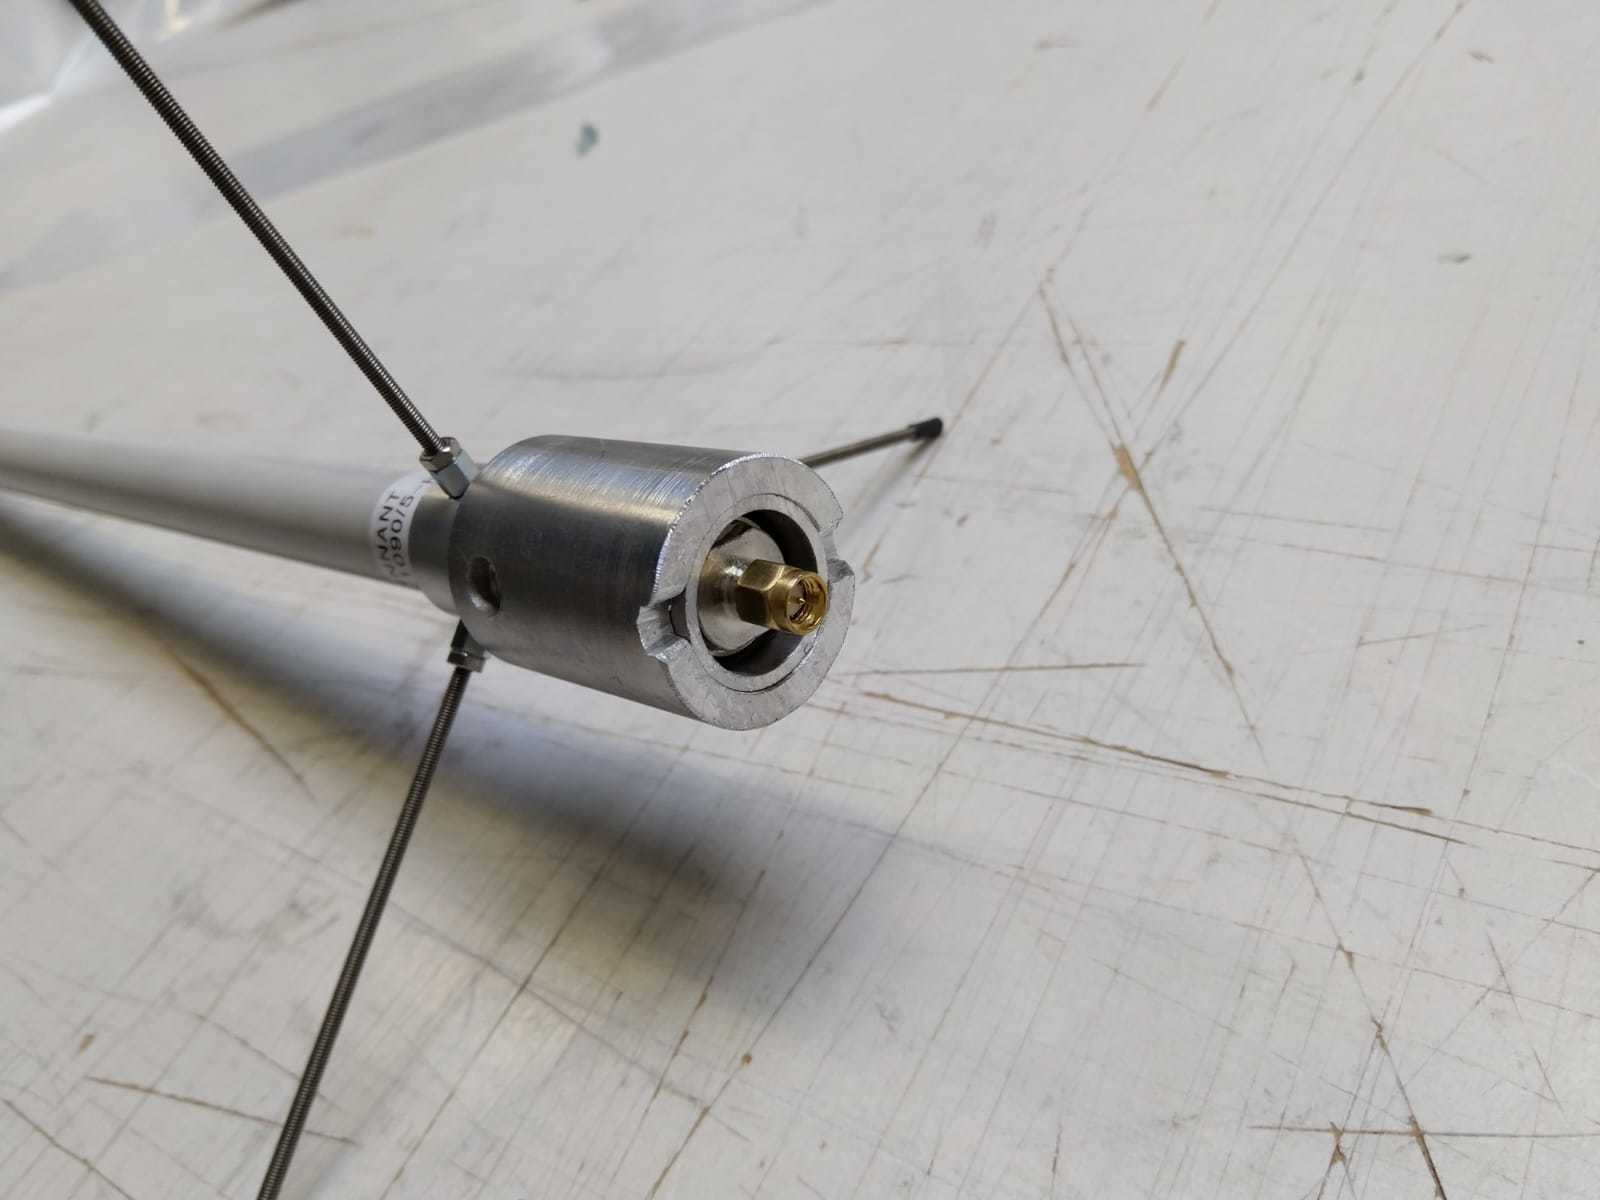
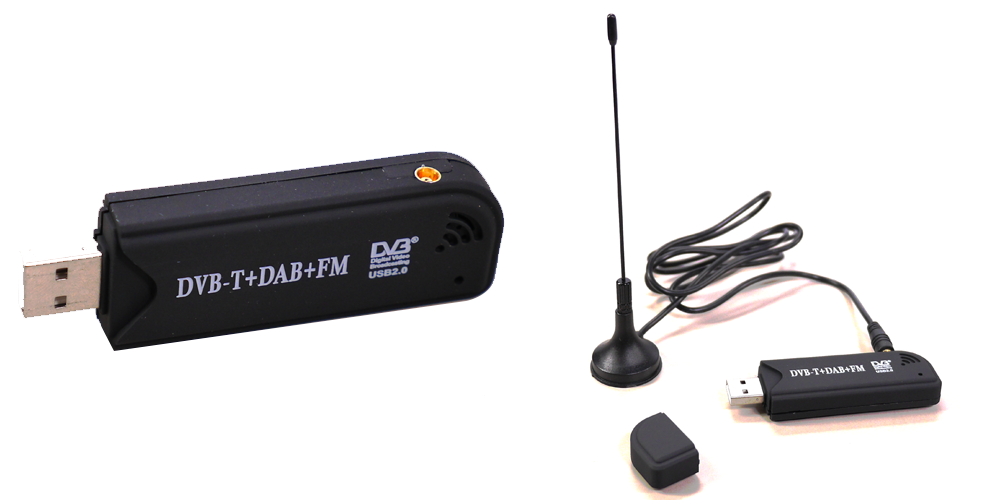
Ik heb het dan over zo'n ding:
:no_upscale():strip_icc():fill(white):strip_exif()/f/image/dP52LiWhB7LXUQI9tMgr3JD8.jpg?f=user_large)
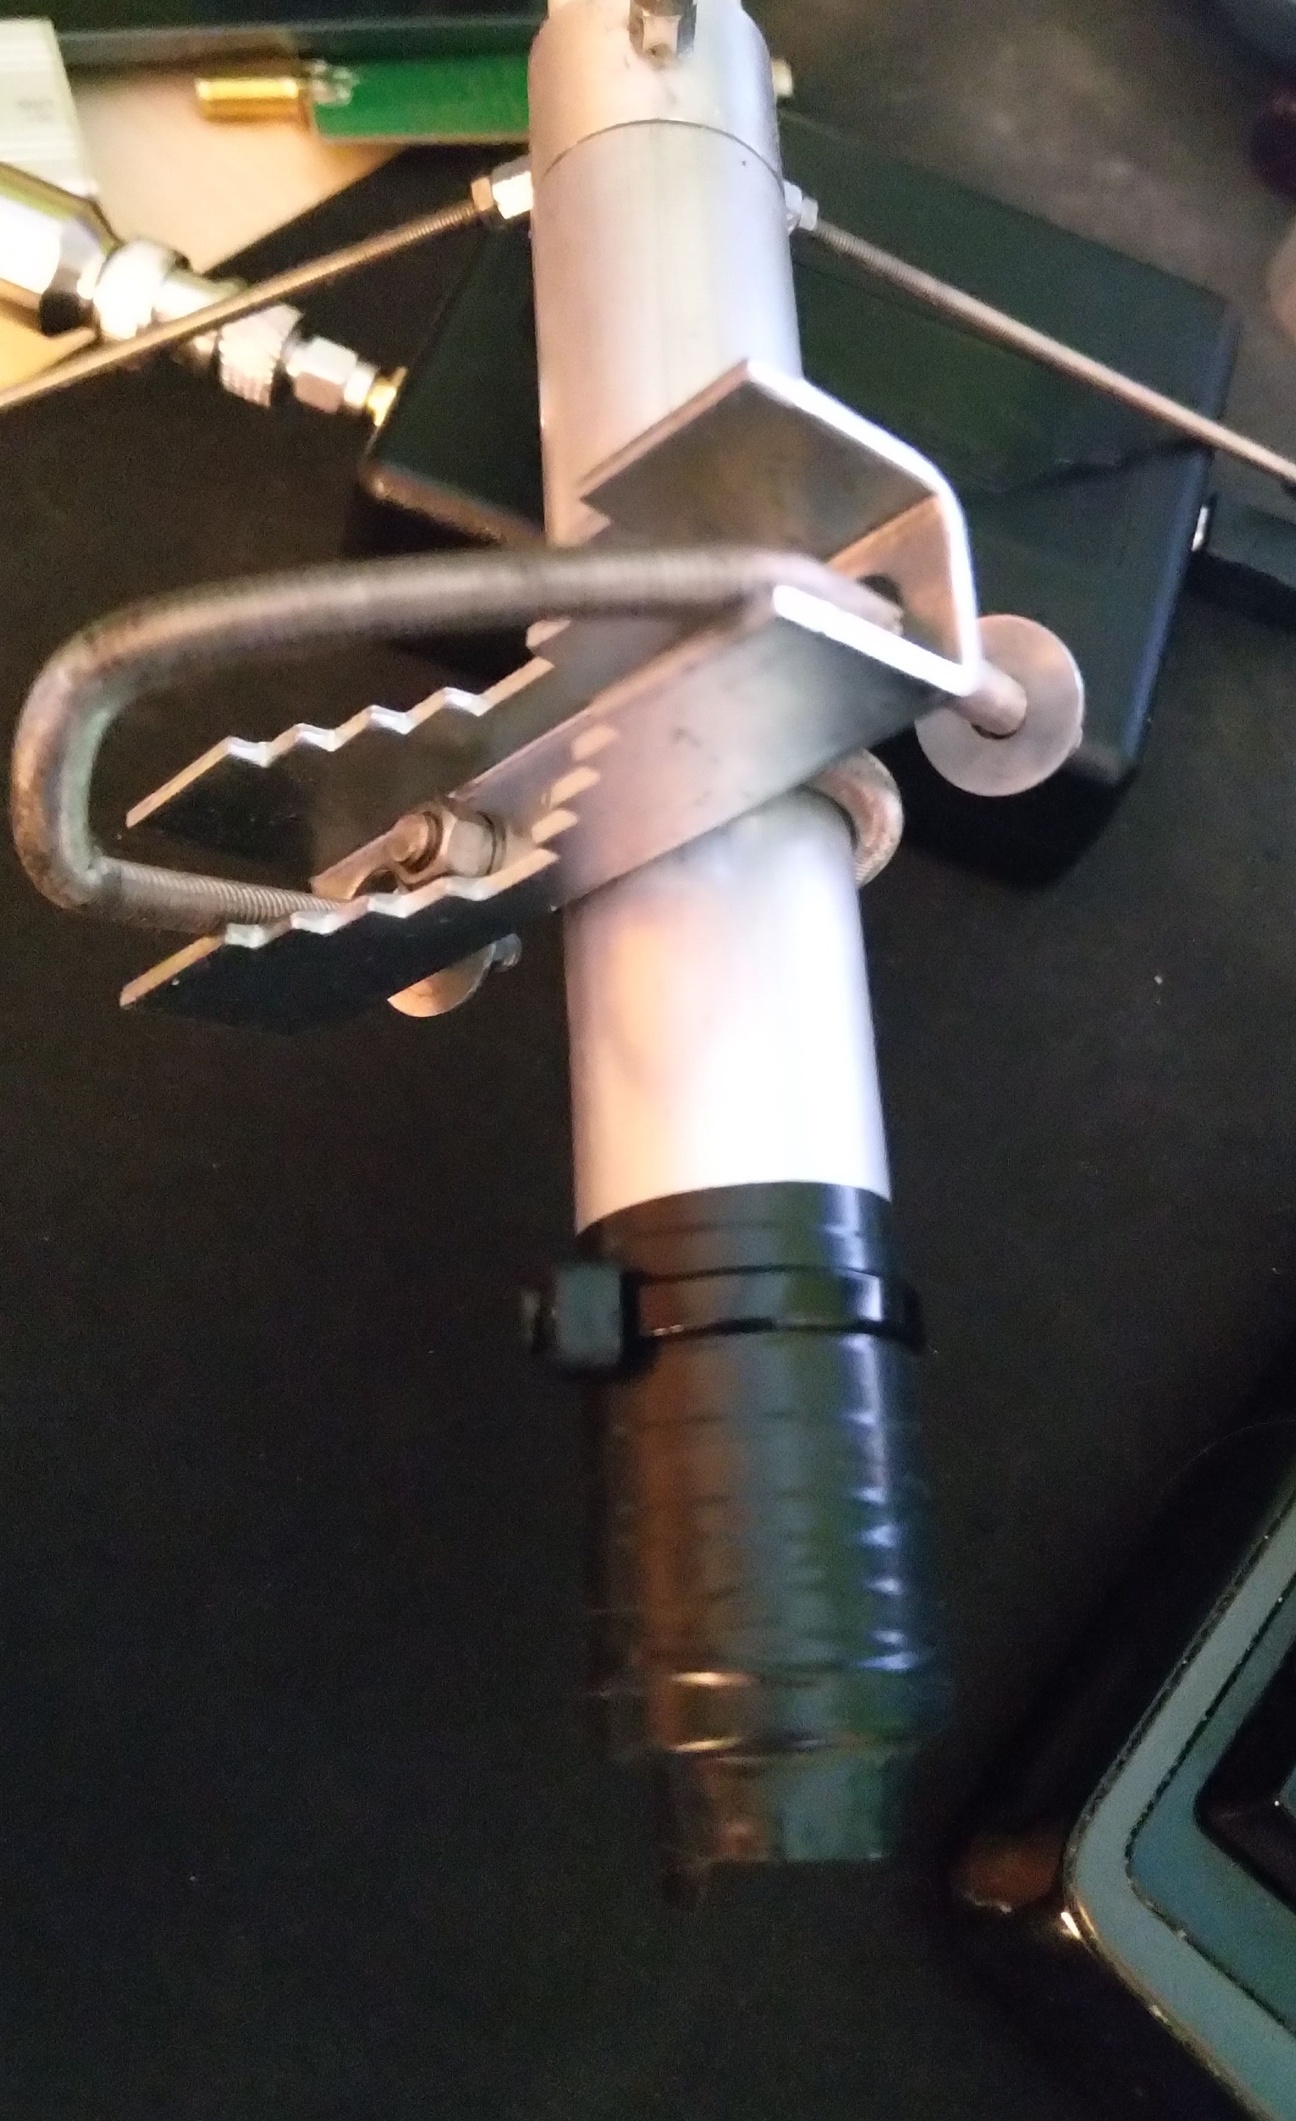
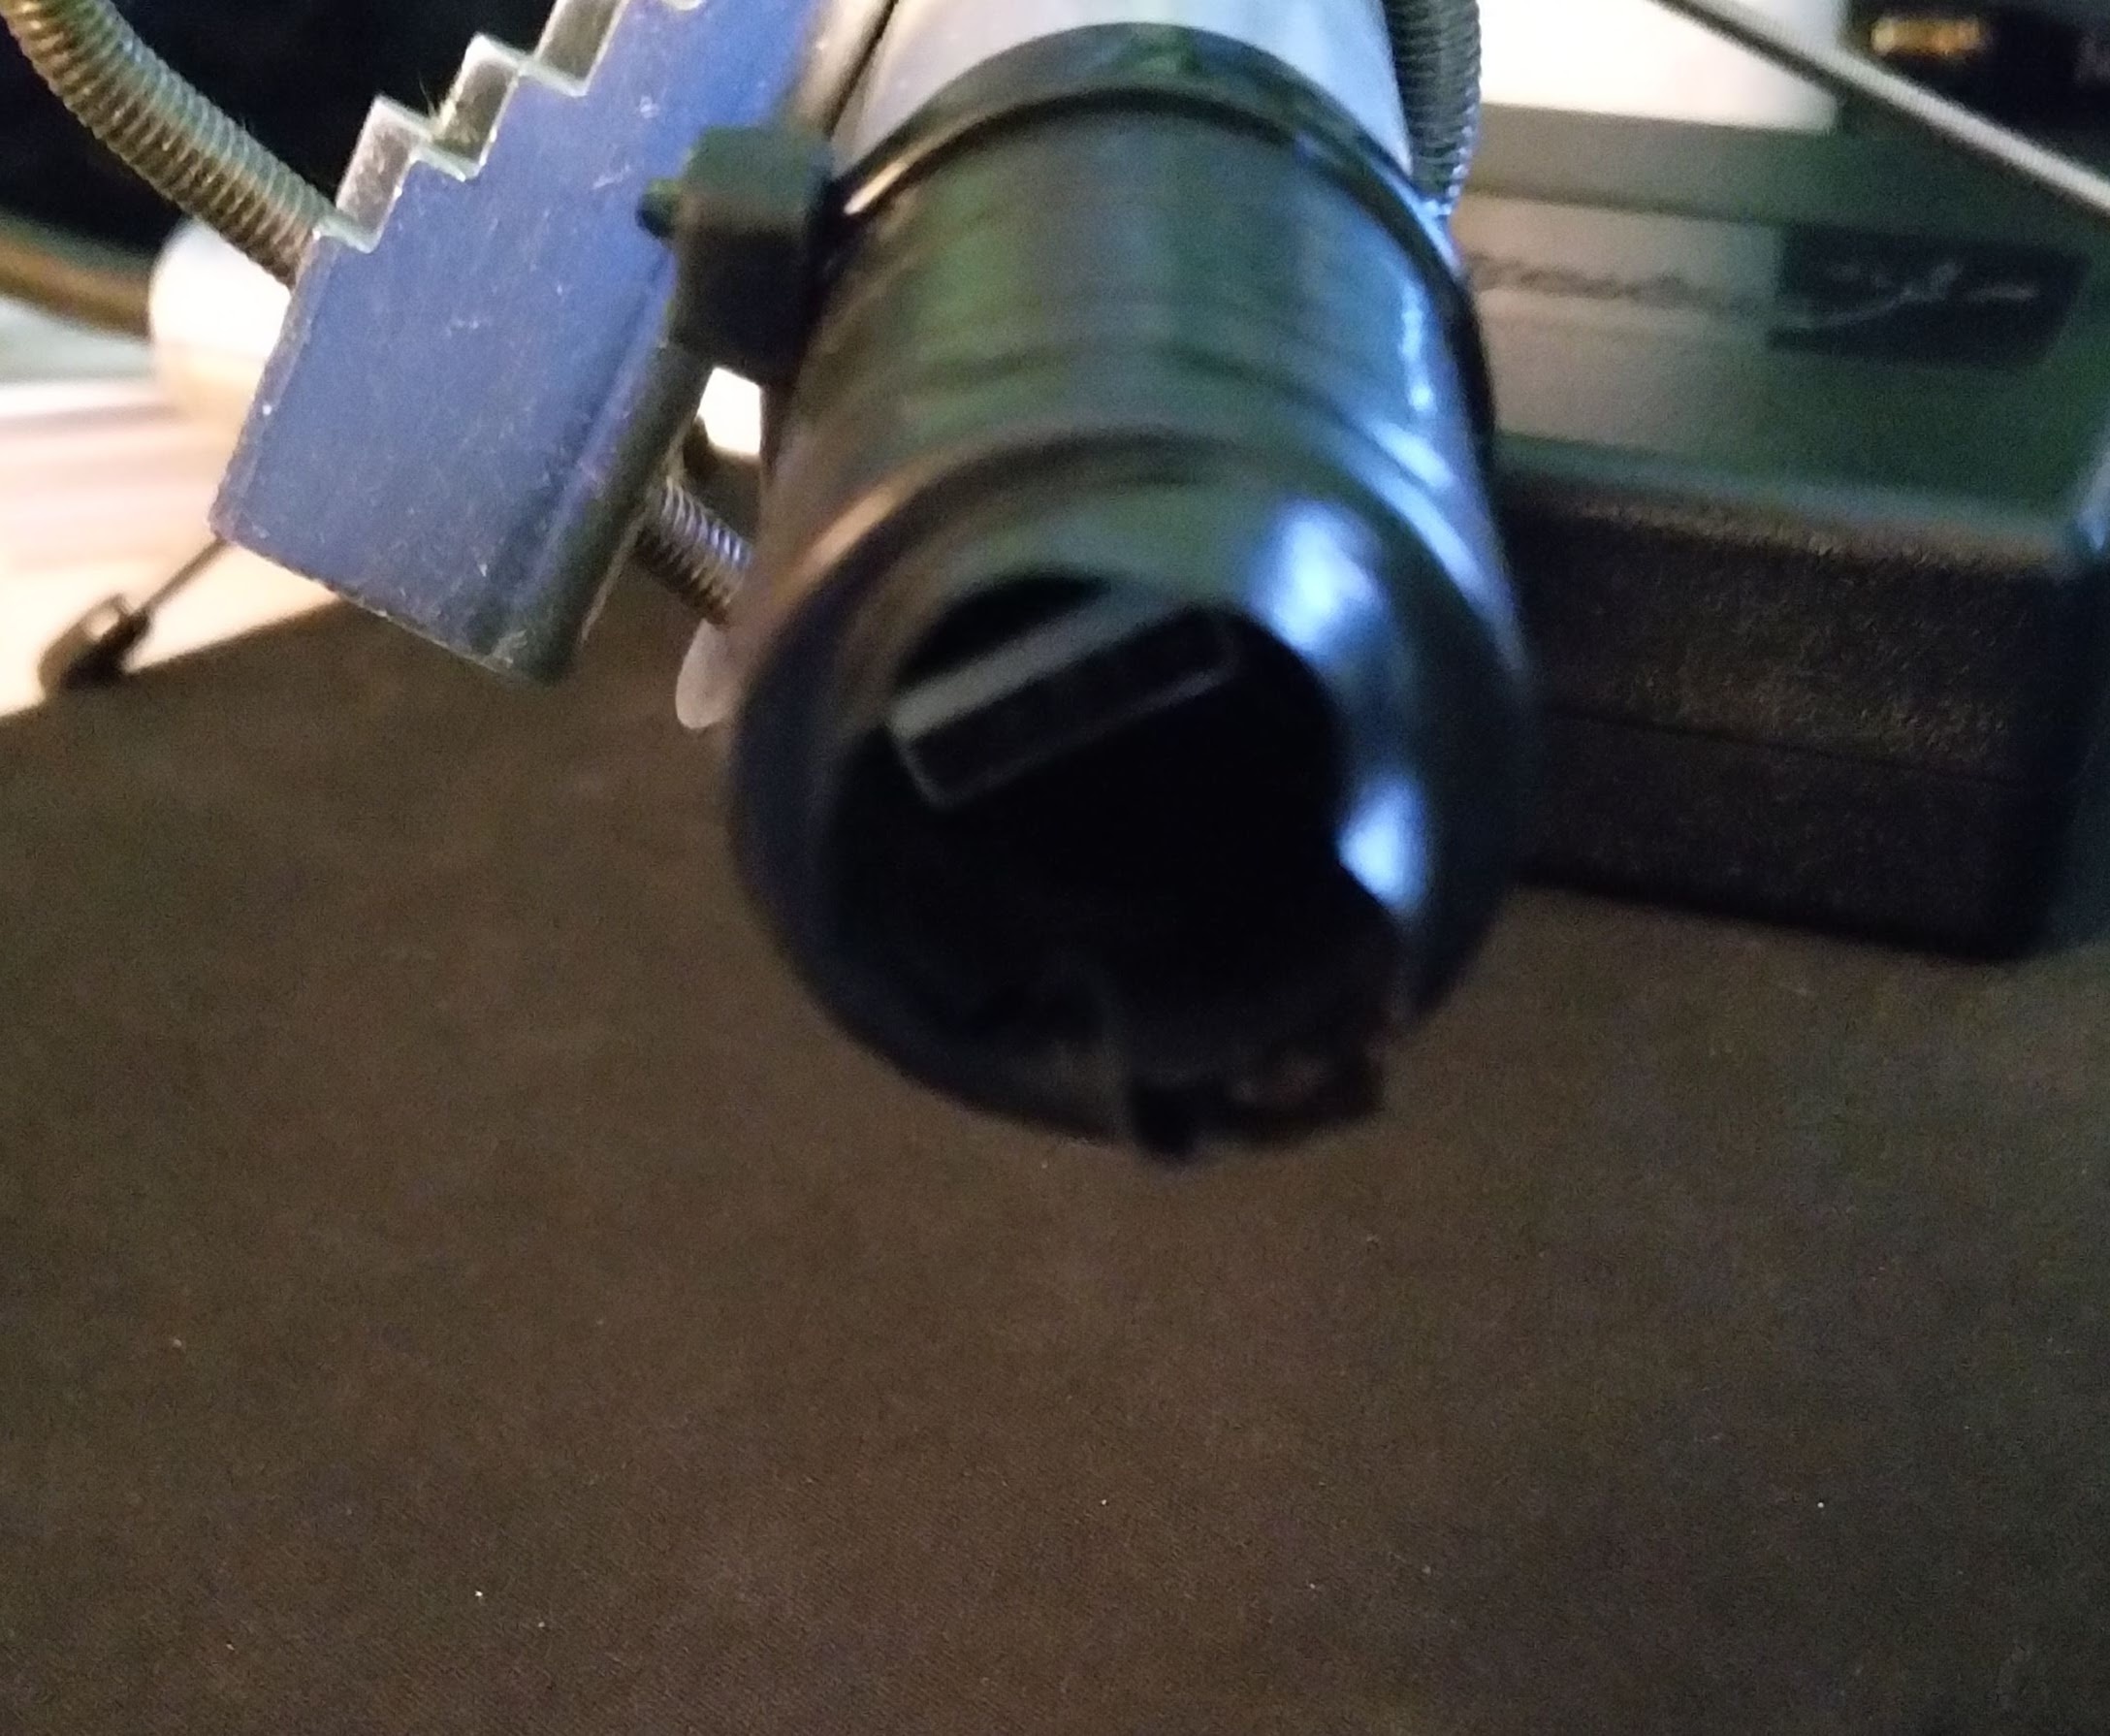
En het complete pakketje kan er dan zo uitzien:
:strip_exif()/f/image/TQ0n3CMLkZnwxEa8lPWQzeXM.jpg?f=fotoalbum_large)
Ik heb daarvoor bestaande open source pakketten gebruikt: rtl-sdr en welle.io (welle-cli, om precies te zijn).
Nadeel van het luisteren op deze manier: de audio stream wordt getranscodeerd naar MP3. En dat wil ik niet.
Met dit image is het ook mogelijk om welle-cli op de Pi niet op te starten en vervolgens op je eigen pc met welle.io via rtl-sdr te connecten met de Pi, dan speelt welle.io de daadwerkelijke audio stream af, zonder transcodering. Nadeel: dit levert netwerk verkeer op van c.a. 40Mbps. Dus zorg voor een goed netwerk die dit aankan. Je kan dan overigens ook SDRSharp gebruiken voor analoge ontvangst van onder andere de 3 meter band. En nog veel meer (alles tussen 24 MHz en 1,7 GHz).
Voor wie het zelf wil proberen, ik heb er een image van gemaakt. Als je al een Pi hebt en je hebt zo'n RTL-SDR stick met antenne liggen, dan ben je binnen 10 minuten klaar.
Ik heb de manual in het Engels geschreven omdat ik vermoed dat ook anderstaligen dit erg fijn vinden.
Garantie tot aan de deur.
---------------------------------------------------------------------------------------
Pi-DABReceiver image
Goal:
Use a Raspberry Pi with a cheap RTL SDR receiver as a remote (networked) DAB+ receiver and be able to do one of the following:
1. Listen to your favorite DAB+ channel via the web interface and stream hosted by Pi-DABReceiver. Multiple channels from the same allotment is possible. (This is the default config of Pi-DABReceiver)
2. Use welle.io or SDRSharp to connect to Pi-DABReceiver via rtl-sdr and use their functionality of resp. DAB+ or analog radio reception.
3. Automatic monitoring of DAB+ channel(s) with a Nagios plug-in (check_welle-cli). Audio level, SNR, DLS and bitrate are possible to check automatically. You will need a running Nagios instance for this, which will send you a notification e-mail if the DAB+ channel goes silent, for example.
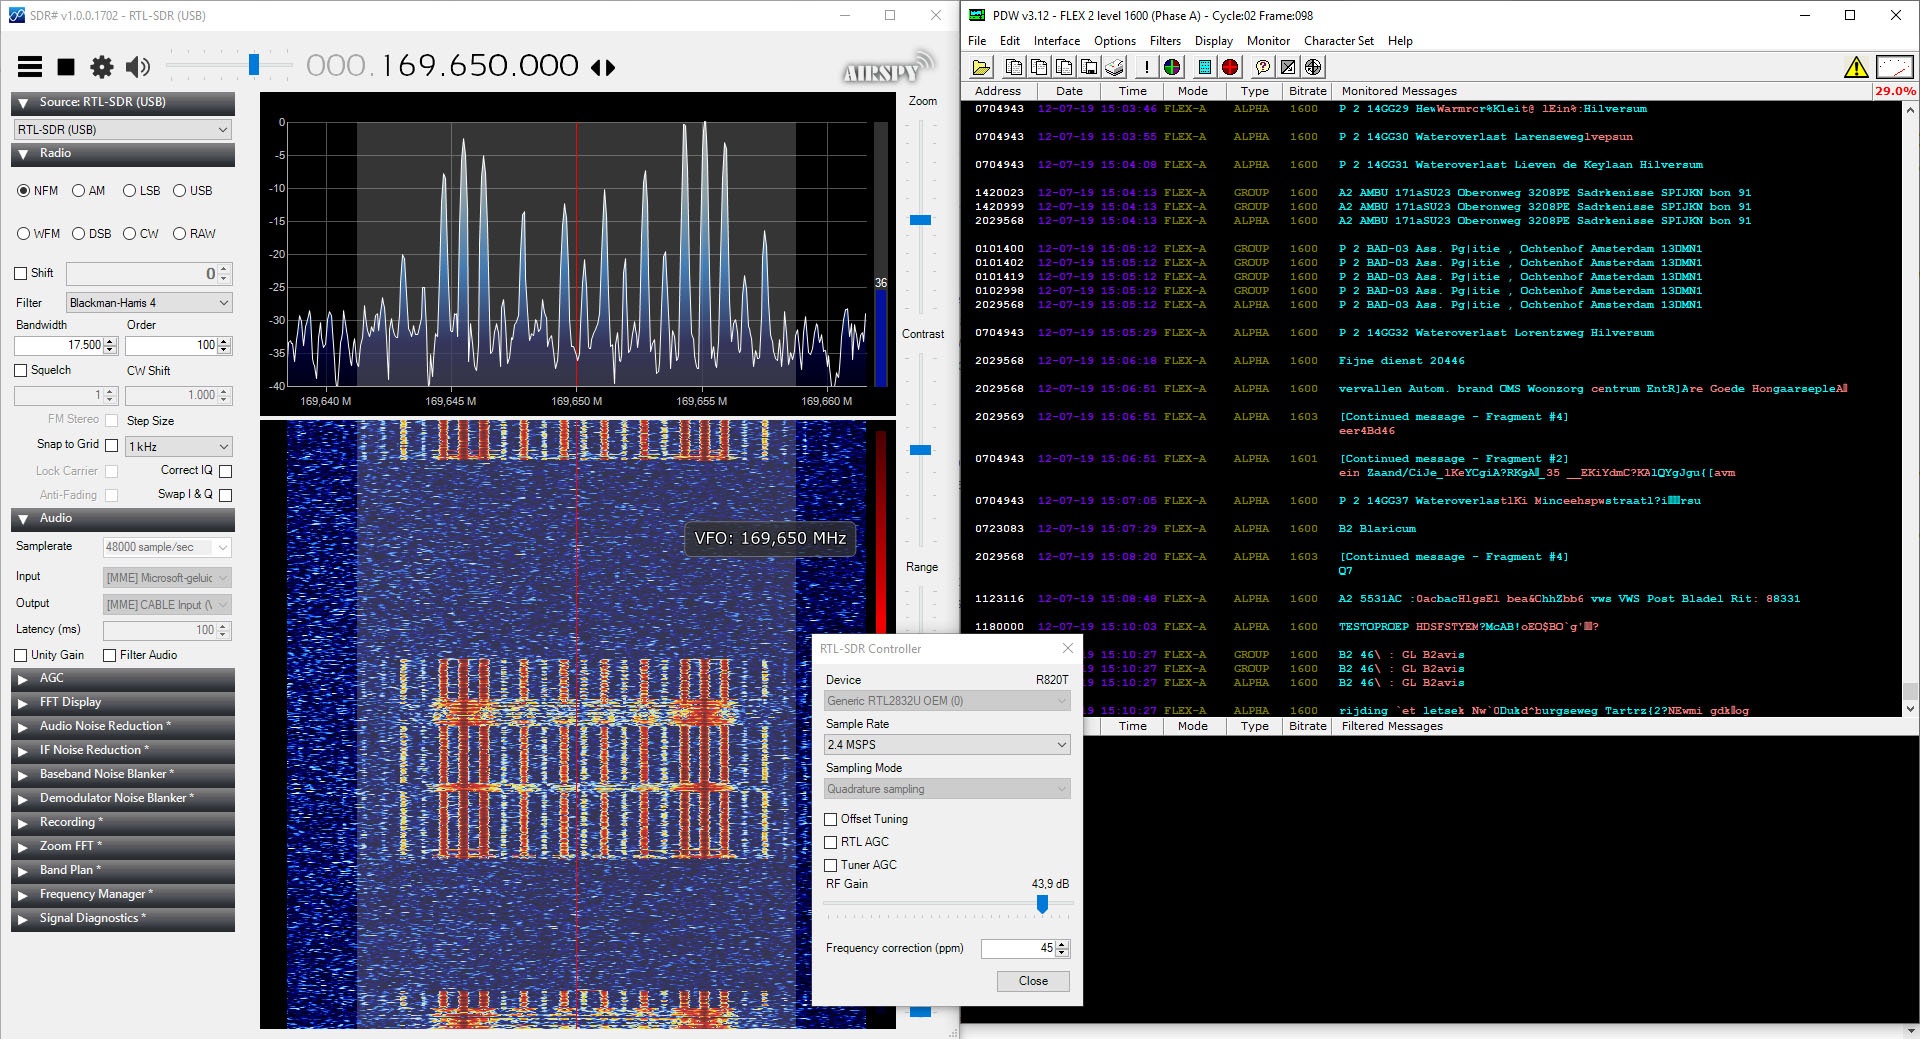
Screenshot:
/f/image/OAEg3TrobySChEPEdngDkqEI.png?f=fotoalbum_large) Costs:
Costs:
The complete Pi + RTL SDR will cost around €110,- depending on your choices.
Info:
The Pi-DABReceiver is based on 'Raspberry Pi OS Lite' (2 dec 2020, kernel 5.4).
This image contains the following 3rd party software:
rtl-sdr:
https://git.osmocom.org/rtl-sdr
welle-cli:
https://github.com/AlbrechtL/welle.io
You can optionally disable welle-cli in /etc/rc.local and use rtl-sdr with welle.io or SDRSharp from another computer.
No graphic gui will show from the Pi's HDMI output. It will just show you a console login prompt.
If you need it, the password for user pi is: raspberry
Pi-DABReceiver is out of the box configured as a DHCP client. It will show its IP address on its console output. The hostname is dabreceiver. SSH is enabled at port 22.
When the installation is ready you can access your Pi-DABReceiver via your browser: http://ip_of_pi/
Minimum requirements:
* RTL2832U / R820T2 USB SDR tuner
* Some kind of terrestrial DAB+ reception
* Raspberry Pi 3 (2GB memory) (read the heat sink part below)
* 8GB SD card
Recommended requirements:
* RTL2832U / R820T2 USB SDR tuner
* Some kind of terrestrial DAB+ reception
* Raspberry Pi 4 (2GB memory) (read the heat sink part below)
* 8GB SD card
Resources:
Example RTL2832U / R820T2 USB SDR tuner:
https://www.amazon.nl/dp/...0FE6?_encoding=UTF8&psc=1
Any other RTL2832U device should work just fine.
Start creating your Pi-DABReceiver
Download files:
Download the Pi-DABReceiver image for Raspberry Pi3 en Pi4:
https://www.dropbox.com/s...i-DABReceiver.img.gz?dl=1
Download Raspberry Pi imager to burn the image to the SD card:
https://www.raspberrypi.org/software/
Other optional download files:
If you need it, you can also download the Nagios check plugin I have created check_welle-cli.py:
https://exchange.nagios.o...check_welle-2Dcli/details (You use the check_welle-cli.py plugin in your existing Nagios instance. Python3 is needed. Run "check_welle-cli.py -h" to see the command line options).
Burn it:
Install and start Raspberry Pi imager.
Select OS. Scroll down to select a custom .img file. Choose Pi-DABReceiver.img.gz
Select SD card. Choose your SD card and make sure you have selected the right card! ALL DATA ON THAT SD CARD WILL BE ERASED!
Click Write. And take a cup of coffee.
Pi imager will write and verify the image to the SD card.
If the write is complete, you're almost done! Slide your SD card into your Pi. Connect your RTL SDR stick and antenna to a USB port of the Pi. Connect a network cable to the Pi. And connect the power to the Pi. It will boot for the first time, do some magic things to your SD card and then reboots automatically. After its boot is complete then rtl-sdr and welle-cli are running, you can now access the web page at http://ip_of_pi/
Console access is not needed in this process.
Thats it!
You are now ready. Or keep reading if you need to customize your brandnew Pi-DABReceiver.
Pi-DABReceiver Options
Do you need heat sinks and active cooling?
You need heat sinks in your Pi to keep it cool.
You might need active cooling if you configured welle-cli to decode many services at the same time. Check the temps of your Pi to be sure it won't fry itself.
Is your Pi running too hot or do you want it to run light?
Change the welle-cli configuration. Login to the Pi via console or SSH. Type:
Scroll down and find the few different welle-cli configurations and read instructions there. Remark the current active welle-cli row, unremark the one you need. Save with Ctrl+X, Y enter. Then reboot your Pi. Type:
Decode all services at the same time?
By default your Pi-DABReceiver is decoding 3 by 3 services in a carousel. If your Pi is powerful enough (a Pi 4 is) and cooled properly, you might consider enabling decoding of all services at the same time. Login to the Pi via console or SSH. Type:
Scroll down and find the few different welle-cli configurations. Remark the current active welle-cli row, unremark the one where the comments state: 'CPU load: HIGH'. Then reboot your Pi. Type:
Need to change the goal of Pi-DABReceiver?
If you want to use welle.io or SDRSharp to connect to the Pi via rtl-sdr, then simply disable welle-cli on the Pi. Login to the Pi via console or SSH. Type:
Scroll down and find the few different welle-cli configurations. Remark the current active welle-cli row and make sure other welle-cli rows are all remarked. Save with Ctrl+X, Y enter. Then reboot your Pi. Type:
After reboot you should be able to connect welle.io or SDRSharp via rtl-sdr to the IP address of your Pi. The port number where rtl-sdr is running is 1234.
Need to change the startup allotment?
Default it will start receiving DAB+ allotment 7B. You can change that. Login to the Pi via console or SSH. Type:
Scroll down and find the few different welle-cli configurations.
You will see some cli parameters, one of which is: -c 7B
Change 7B to whatever you need. Save with Ctrl+X, Y enter. Then reboot your Pi. Type:
[
Voor 3% gewijzigd door
remco_k op 09-01-2021 16:43
]
Alles kan stuk.
/u/137180/TS4YTL60R.png?f=community)
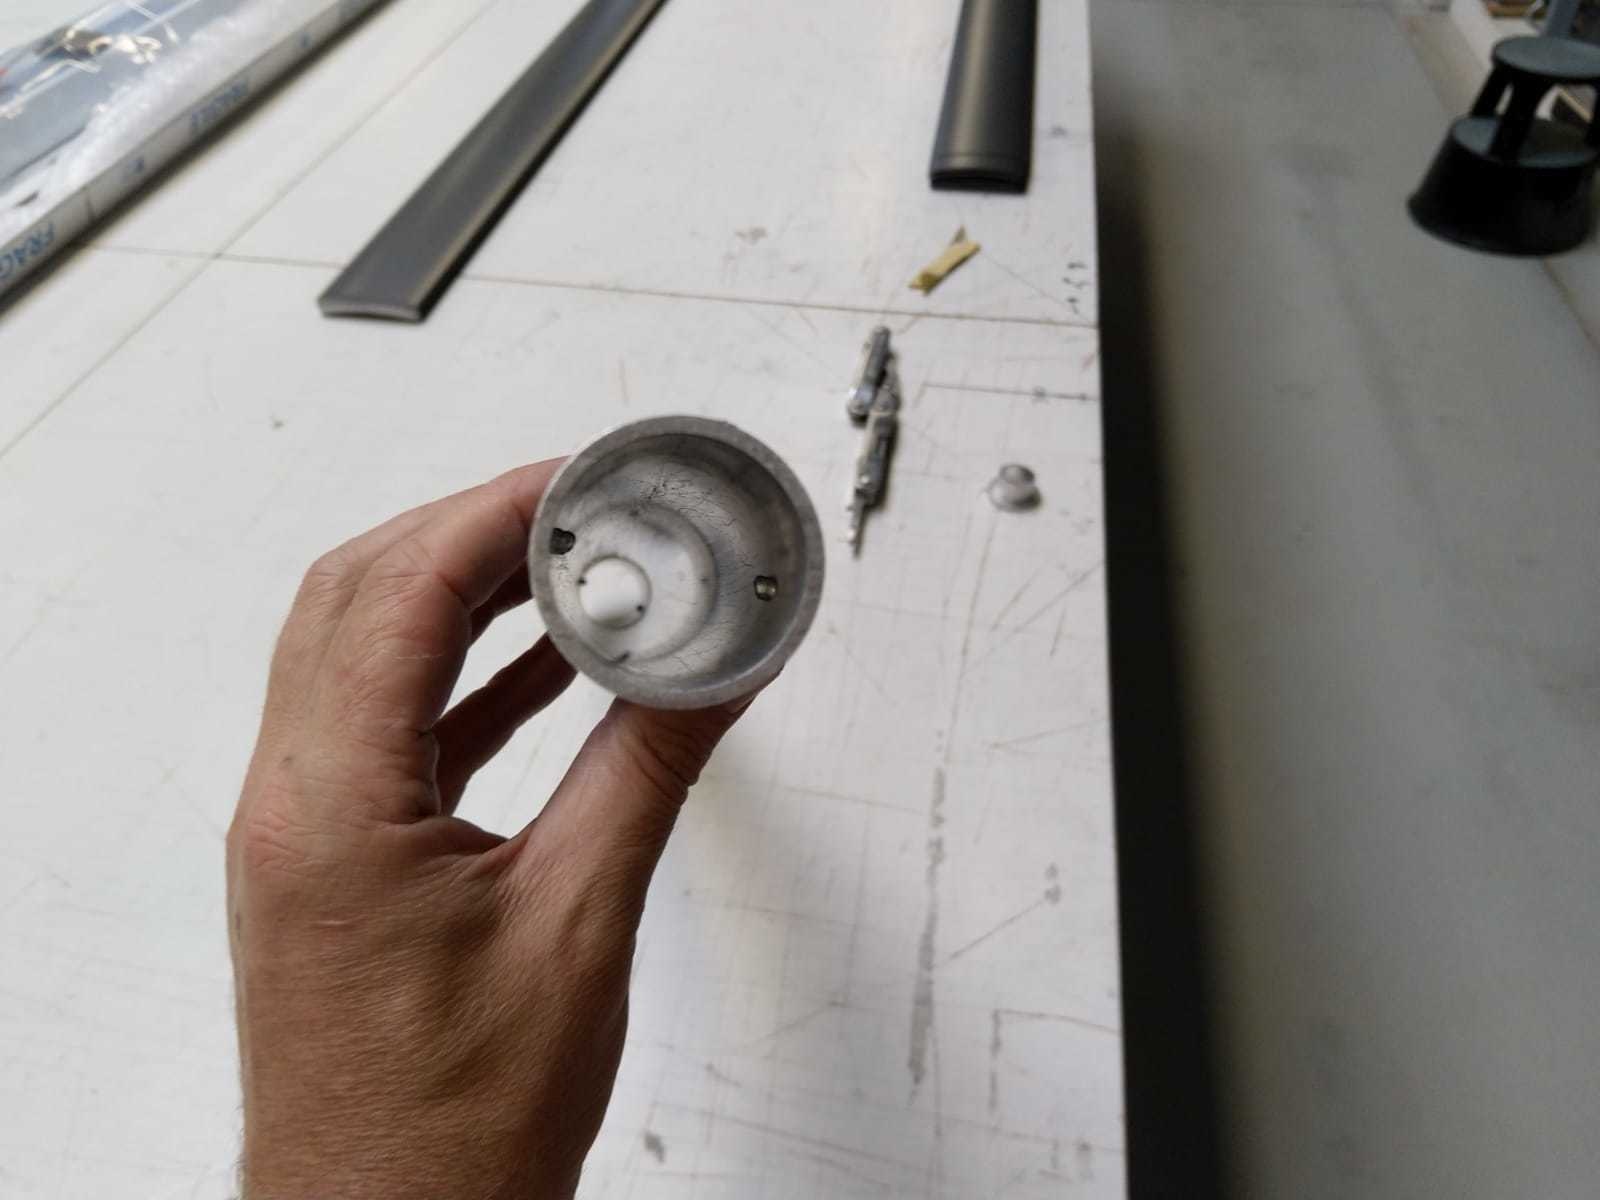
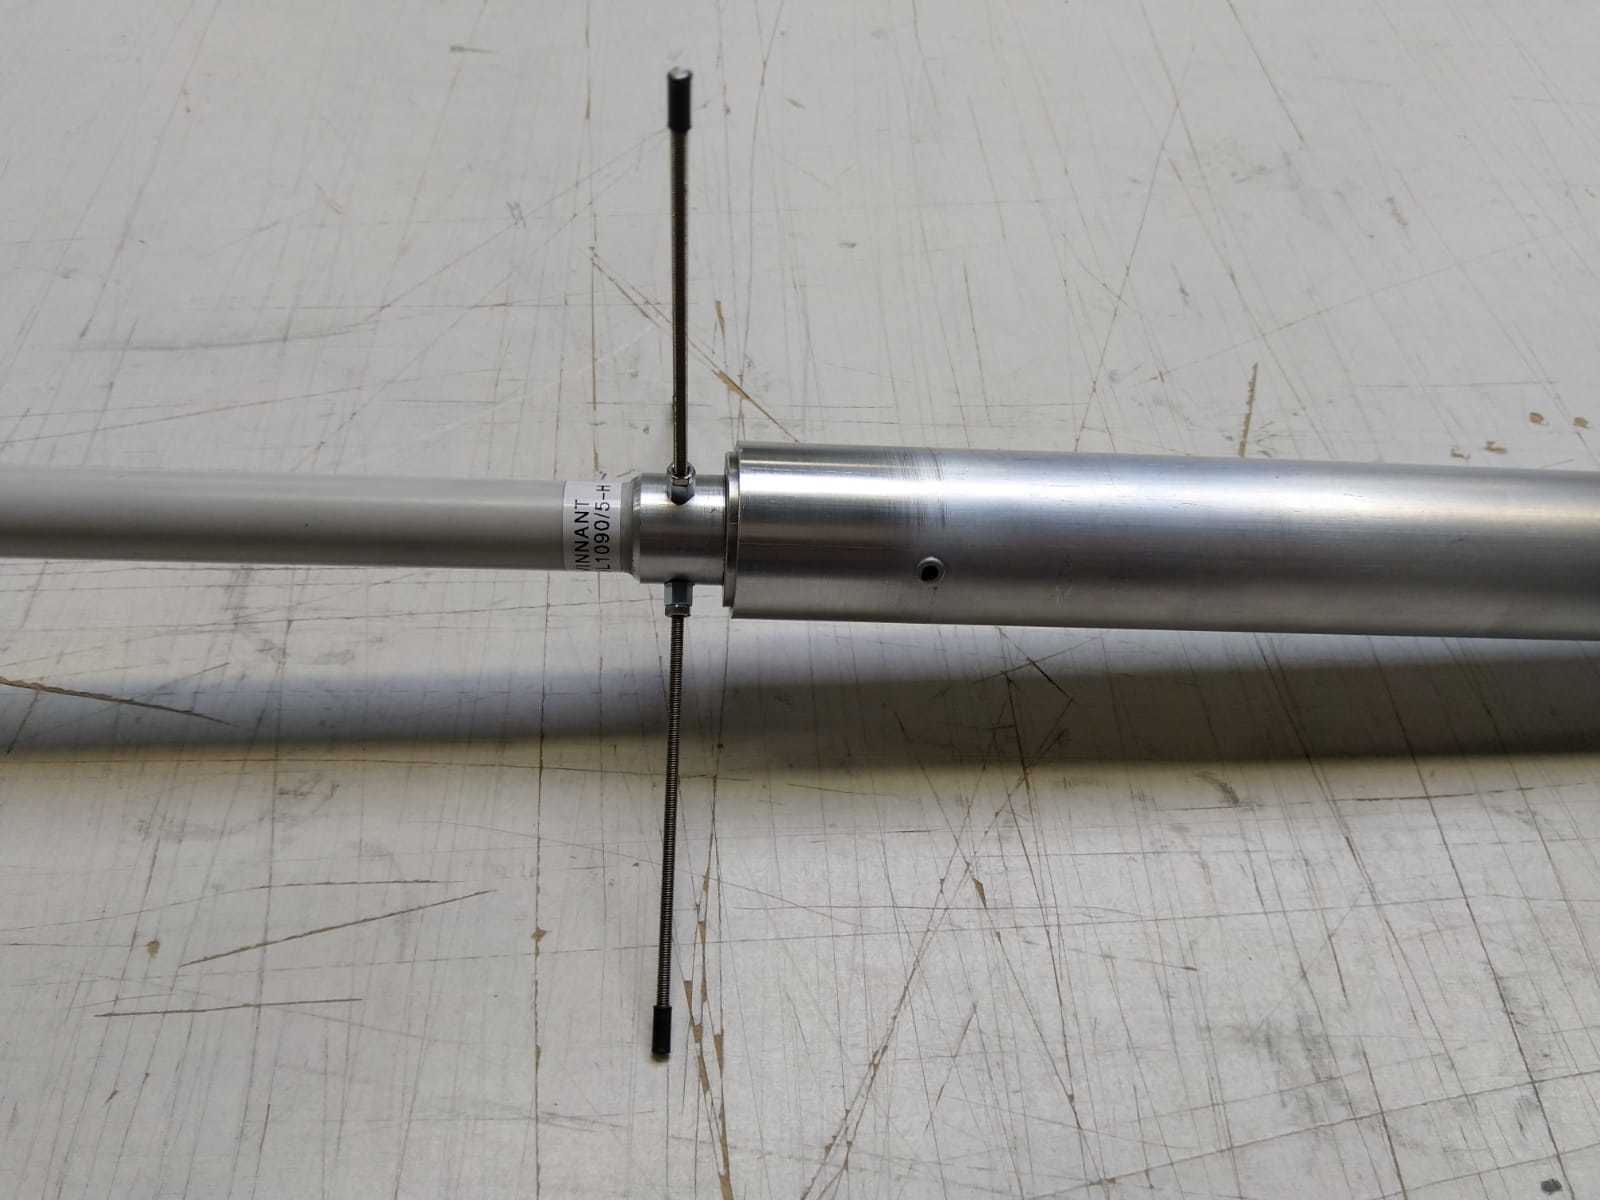
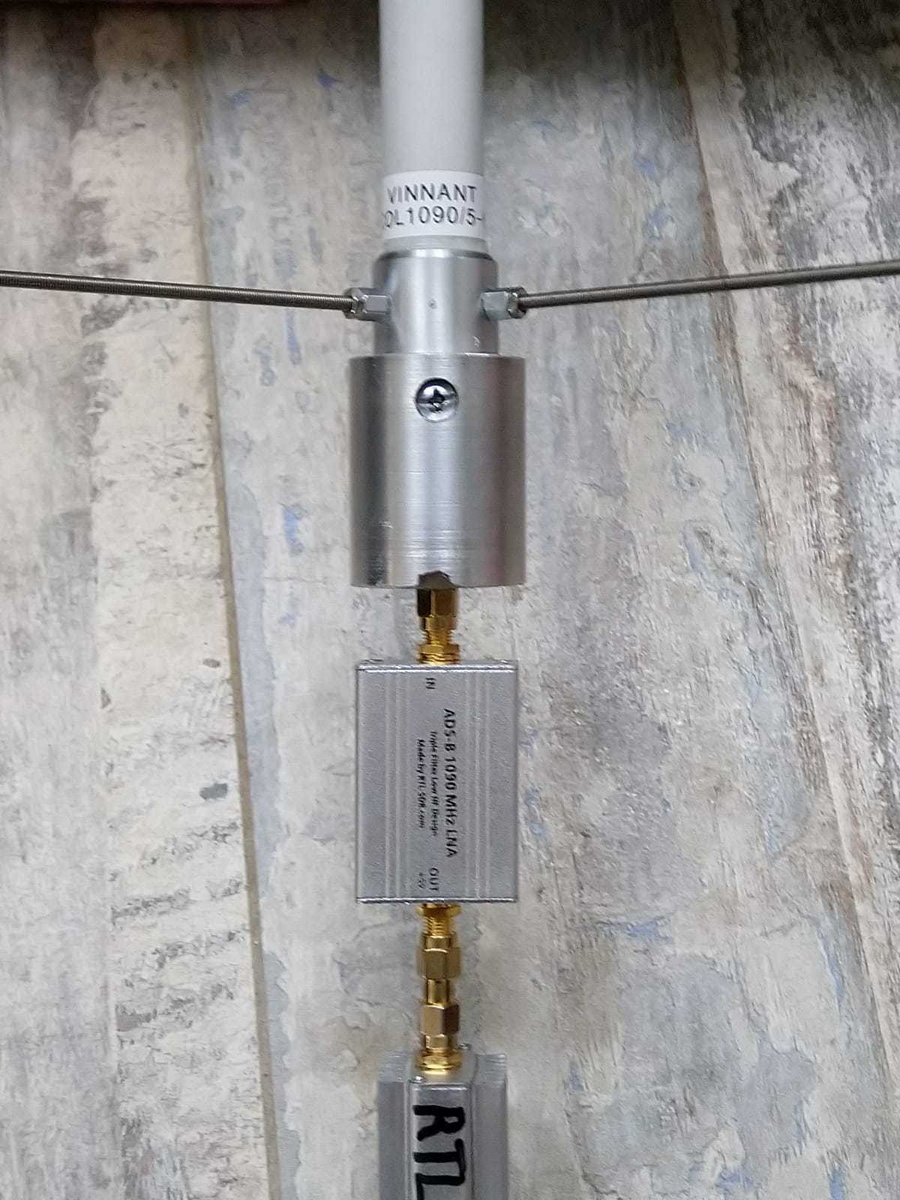
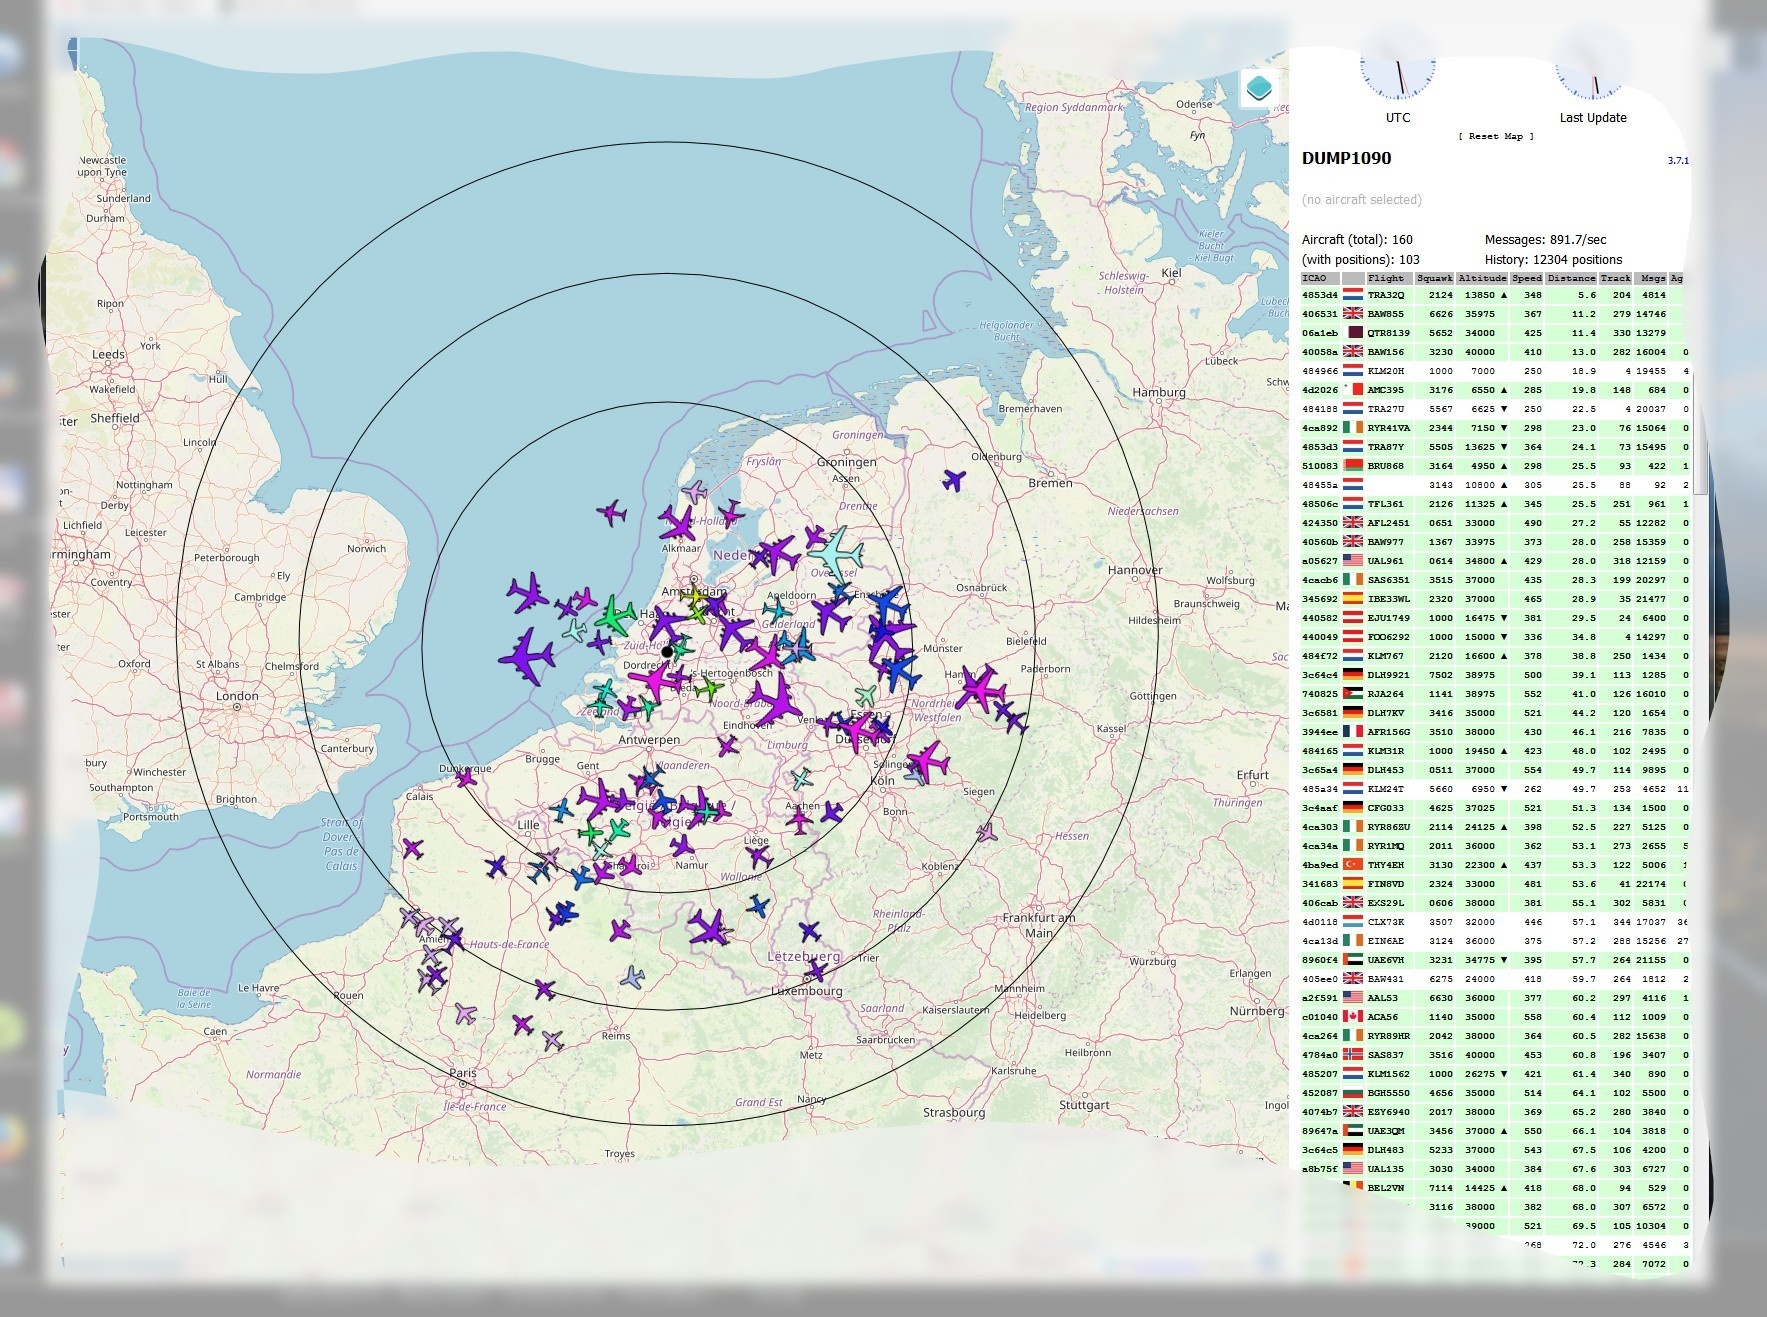
 Ik zag in het topic hier een paar weerfoto's. Erg mooi. Wel een mooi experiment met de Ali spullen nadat de 1090-setup stabiel draait.
:strip_icc():strip_exif()/u/10785/crop578f51da1fbfc_cropped.jpeg?f=community)


/u/263454/crop69528a83920d8.png?f=community)


/u/300669/twitter.JPG?f=community)


:strip_exif()/u/119419/candc-60px.gif?f=community)

:strip_exif()/u/9126/soho17_1nm.gif?f=community)

:strip_exif()/u/3157/sail4L_S70.gif?f=community)
:strip_icc():strip_exif()/u/38708/w03i.jpg?f=community)
:strip_icc():strip_exif()/u/181709/echtebakker.jpg?f=community)
:strip_icc():strip_exif()/u/178794/Iron_Maiden_klein.jpg?f=community)
/u/60516/crop68737eb2aab73_cropped.png?f=community)
:strip_icc():strip_exif()/u/1330572/crop6a2825fa332ed_cropped.jpg?f=community)
/u/53159/Isabelleicon6060.JPG?f=community)
:no_upscale():strip_icc():fill(white):strip_exif()/f/image/TQ0n3CMLkZnwxEa8lPWQzeXM.jpg?f=user_large)
:fill(white):strip_exif()/f/image/OAEg3TrobySChEPEdngDkqEI.png?f=user_large)
:strip_icc():strip_exif()/u/193135/tigga.jpg?f=community)
:strip_exif()/u/3443/lizard.gif?f=community)
/u/152942/crop687206d7bca78.png?f=community)
:no_upscale():strip_icc():fill(white):strip_exif()/f/image/hBKwXlDJnrXI6zhIPVNNahqn.jpg?f=user_large)
:no_upscale():strip_icc():fill(white):strip_exif()/f/image/0ur3ykXpUeNQo6dzcttYPstk.jpg?f=user_large)